

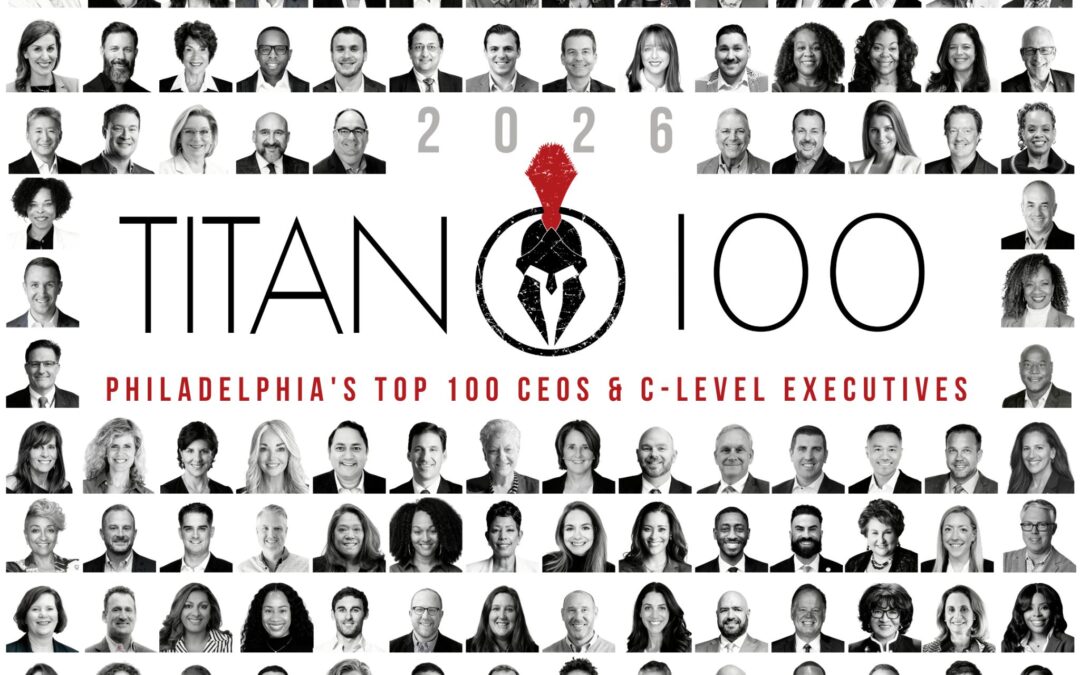
Titan CEO and headline sponsor Cherry Bekaert are pleased to announce Joe Masciangelo, Chief Operating Officer, Starlite as a 2026 Philadelphia Titan 100 honoree. The Titan 100 program recognizes Philadelphia’s Top 100 CEOs & C-level executives. They are the...
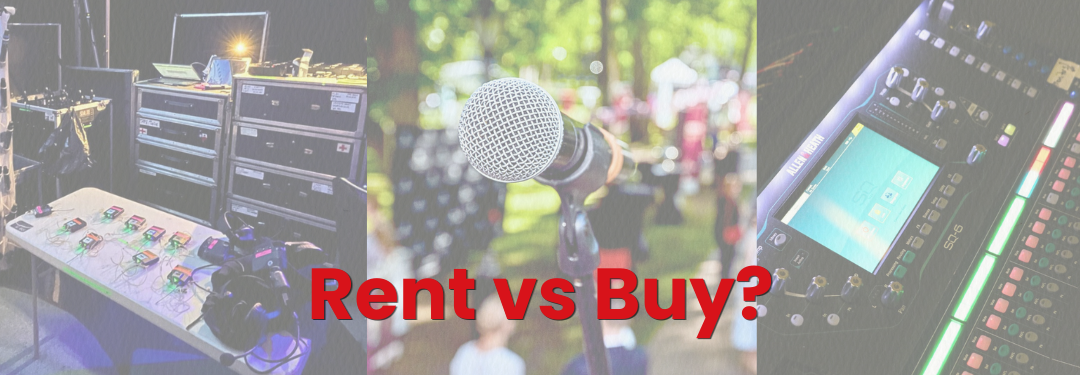
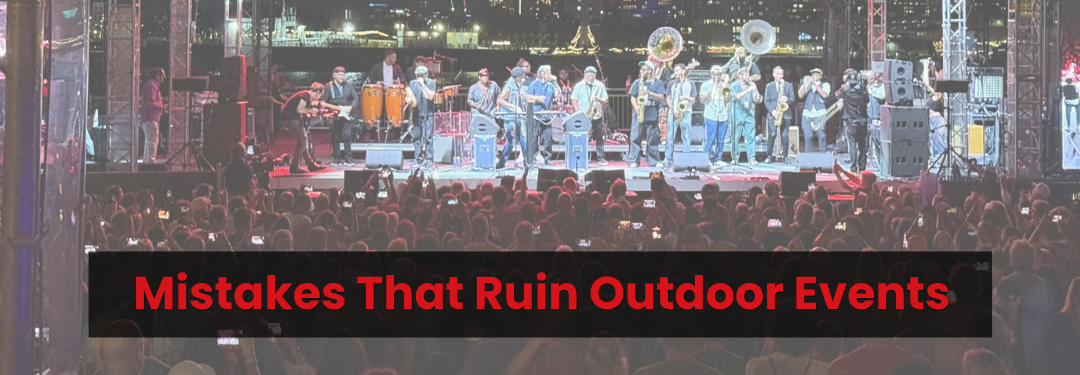
AV Equipment Rental vs Buying: What Makes More Sense?
Buying AV equipment sounds great in theory until you realize you now own:
- Speakers
- Cables
- Lighting Fixtures
- Road Cases
- Batteries/Adapters
- Software updates
- Storage problems
- Maintenance problems
- & other gear nobody remembers how to use six months later
For many organizations, AV equipment rental is a more practical and cost-effective option than purchasing and maintaining equipment internally.
That is especially true for temporary events and productions, where technology changes quickly and equipment needs can vary from one event to the next.
Whether you are planning a corporate event, festival, fundraiser, conference, town event, concert, or community production, here are some of the biggest reasons renting often makes more sense than buying.
1. Buying Equipment Gets Expensive Fast
Most people do not realize how quickly AV costs stack up until they start pricing things out.
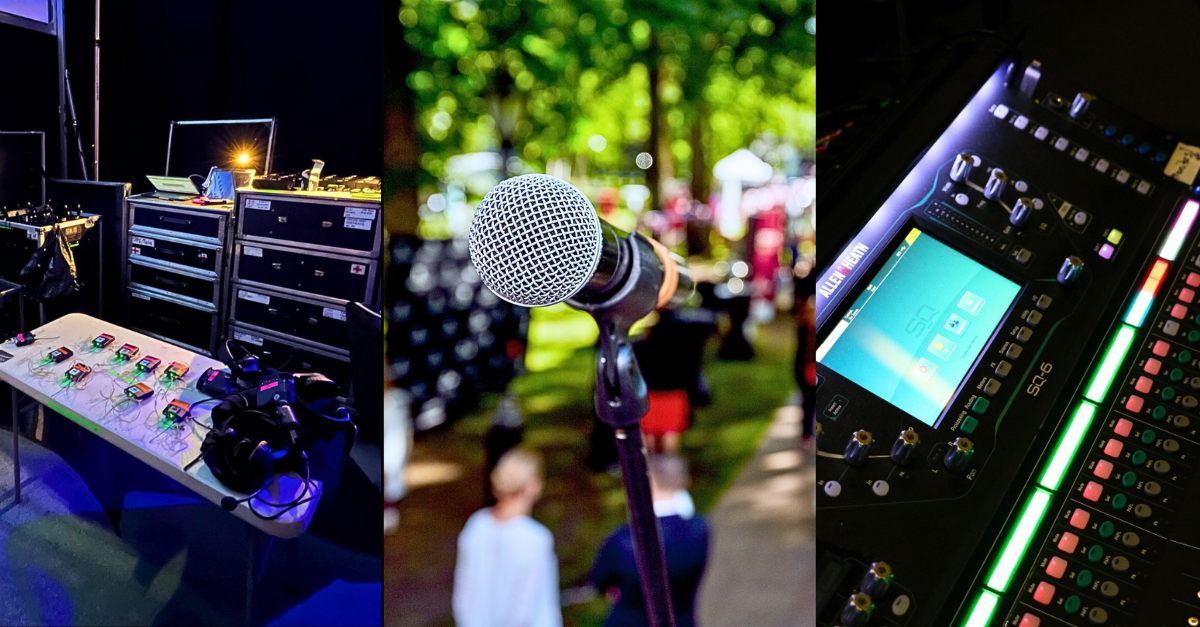
A couple speakers turns into: microphones, mixers, stands, monitors, cables, lighting, power distribution, cases, and backup equipment… and suddenly the “simple setup” isn’t so simple anymore.
Professional AV and lighting equipment is a serious investment, especially if you want equipment that actually performs well in live environments. And buying the gear is only the beginning.
You are not just buying speakers and lighting fixtures. You are also signing up for maintenance, repairs, transportation, storage, firmware updates, and eventual replacement costs.
If you only need equipment occasionally, AV equipment rental is usually far more cost-effective than owning everything yourself.
2. Technology Ages Really Quickly
AV technology moves fast.
Something that felt high-end five years ago can already feel outdated now — especially with especially with LED video systems, wireless microphones, digital audio consoles, projectors, and streaming equipment.
Organizations like AVIXA regularly track evolving trends and standards across the audiovisual industry, which is one reason many event teams choose rental equipment over long-term ownership.
This is one of the biggest advantages of renting.
You get access to current equipment without constantly chasing upgrades yourself.
That means your event can still have the following without having to rebuild your inventory every few years:
- bright, modern displays
- clean sound
- reliable wireless systems
- professional lighting
- updated playback systems
Because honestly, outdated AV equipment shows up fast at events. People notice bad audio immediately.
3. Every Event Needs Something Different
A town festival does not need the same setup as a corporate presentation. And a fundraiser definitely does not need the same lighting package as a concert. That is one of the biggest advantages of AV equipment rental for events and temporary productions.
You can scale equipment based on crowd size, venue type, indoor vs outdoor setup, event length, production needs, and budget.
Some events only need a projector and a couple microphones. Others require full production support with staging, lighting, LED walls, livestreaming, and outdoor audio systems.
Renting lets you build the setup around the actual event instead of trying to force owned equipment into situations it was never designed for.
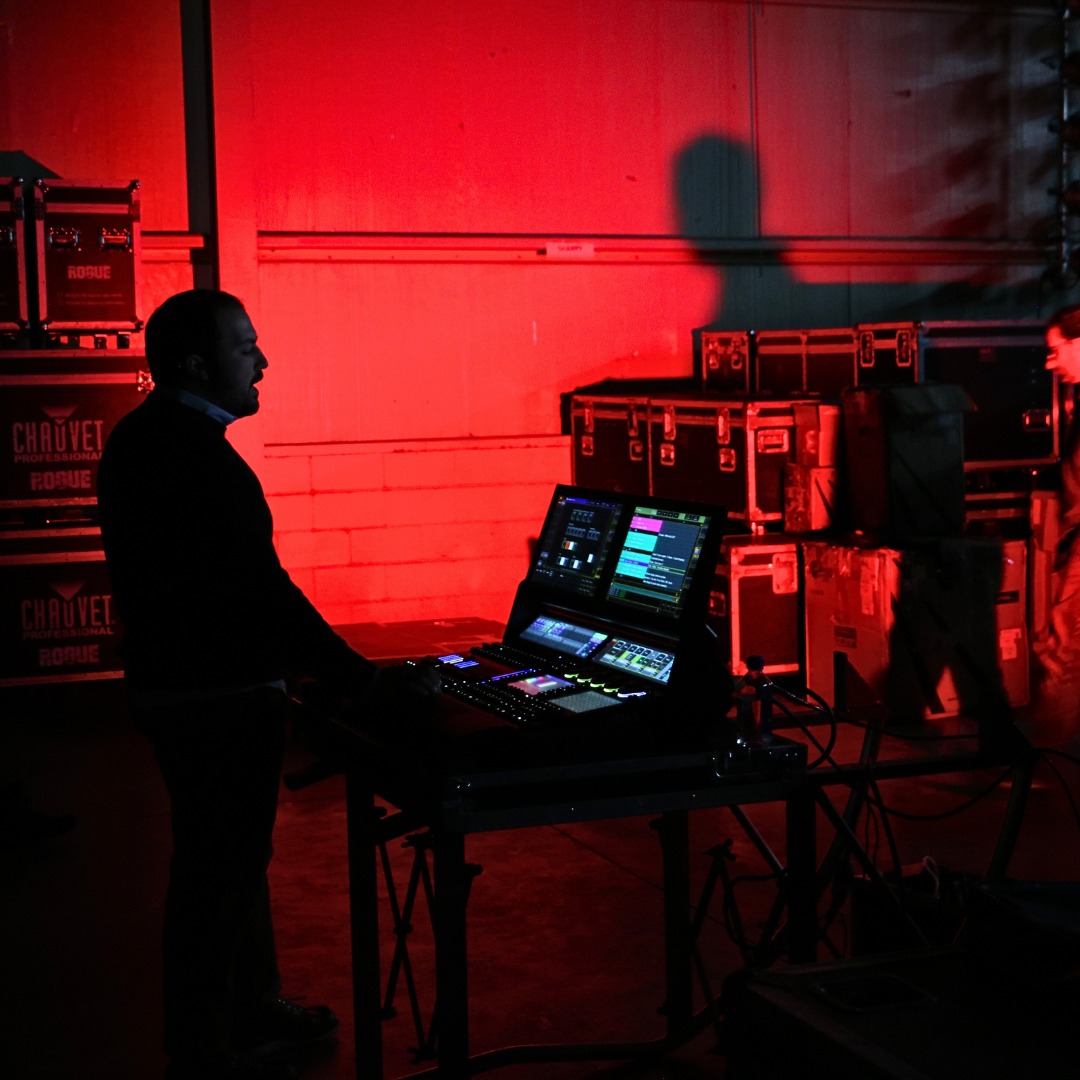
4. Technical Support Matters More Than People Think
This is the part people underestimate the most. The gear itself is only half the equation.
Because eventually, something goes wrong at an event.
A microphone cuts out. A laptop refuses to connect. A wireless frequency gets interference.
Audio suddenly disappears for no reason anybody can explain in the moment.
That stuff happens. What matters is having people there who know how to fix it quickly.
When you work with a professional AV equipment rental company, you are not just paying for equipment.
You are paying for support when something inevitably goes sideways. Anybody can order equipment online.
Keeping a live event running smoothly is the hard part.
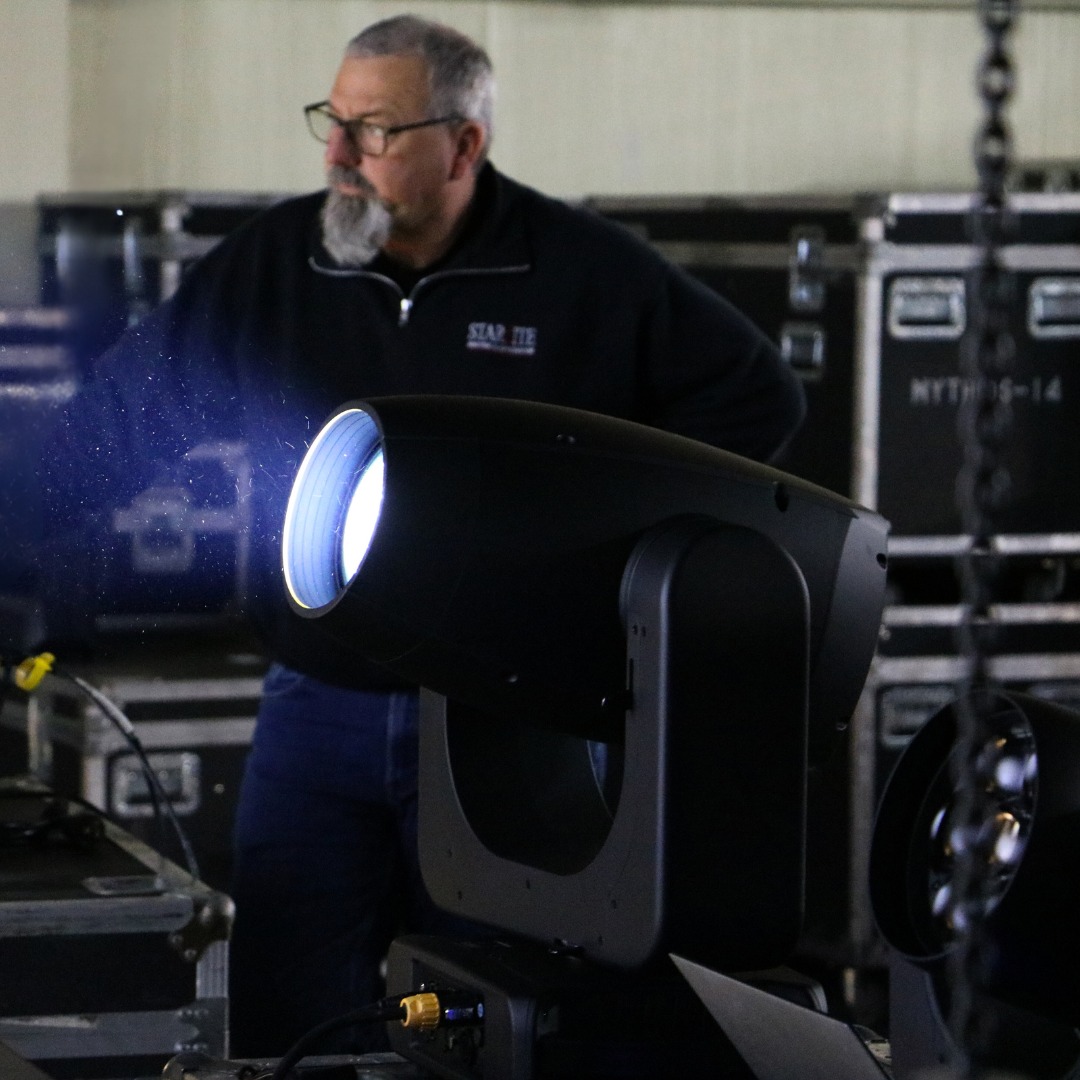
5. Storage Becomes a Problem Very Quickly
Owning AV equipment sounds great until you have to store it.
Professional audiovisual gear takes up way more space than most people expect. Speakers, lighting fixtures, staging, truss, road cases, monitors, power equipment, and endless cable bins add up fast — especially once the event is over and everything needs a place to live.
And if equipment sits too long without maintenance, problems start showing up. Batteries die, cables go bad, software becomes outdated, accessories disappear, and suddenly equipment that worked perfectly six months ago is unreliable when you actually need it.
Honestly, most organizations do not want to manage all of that.
That is one of the biggest reasons people choose AV rental services instead. You get professionally maintained, event-ready equipment without having to worry about storage, upkeep, or managing inventory yourself.
6. Renting Reduces Stress
Most event organizers already have enough to manage between schedules, vendors, permits, staffing, sponsors, registrations, timelines, and guest experience. The last thing most people want is to also become responsible for troubleshooting professional event technology.
That is one of the biggest reasons renting simplifies the process.
A good AV production company helps you figure out what equipment actually makes sense for the event, what works best for the venue, what fits the budget, and what helps avoid unnecessary problems later on.
Because honestly, most events do not fail because of one massive issue. They fail because of ten small ones.
So… When Does Buying Make Sense?
Buying AV equipment DOES make sense in some situations. Especially for the following:
- permanent conference rooms
- schools
- houses of worship
- municipal facilities
- recurring in-house productions
- businesses with constant AV needs
But even organizations that own equipment still rent all the time for:
- larger events
- outdoor productions
- additional sound coverage
- specialty lighting
- overflow crowds
- temporary setups
It is not always rent OR buy.
Sometimes the smartest setup is a combination of both.
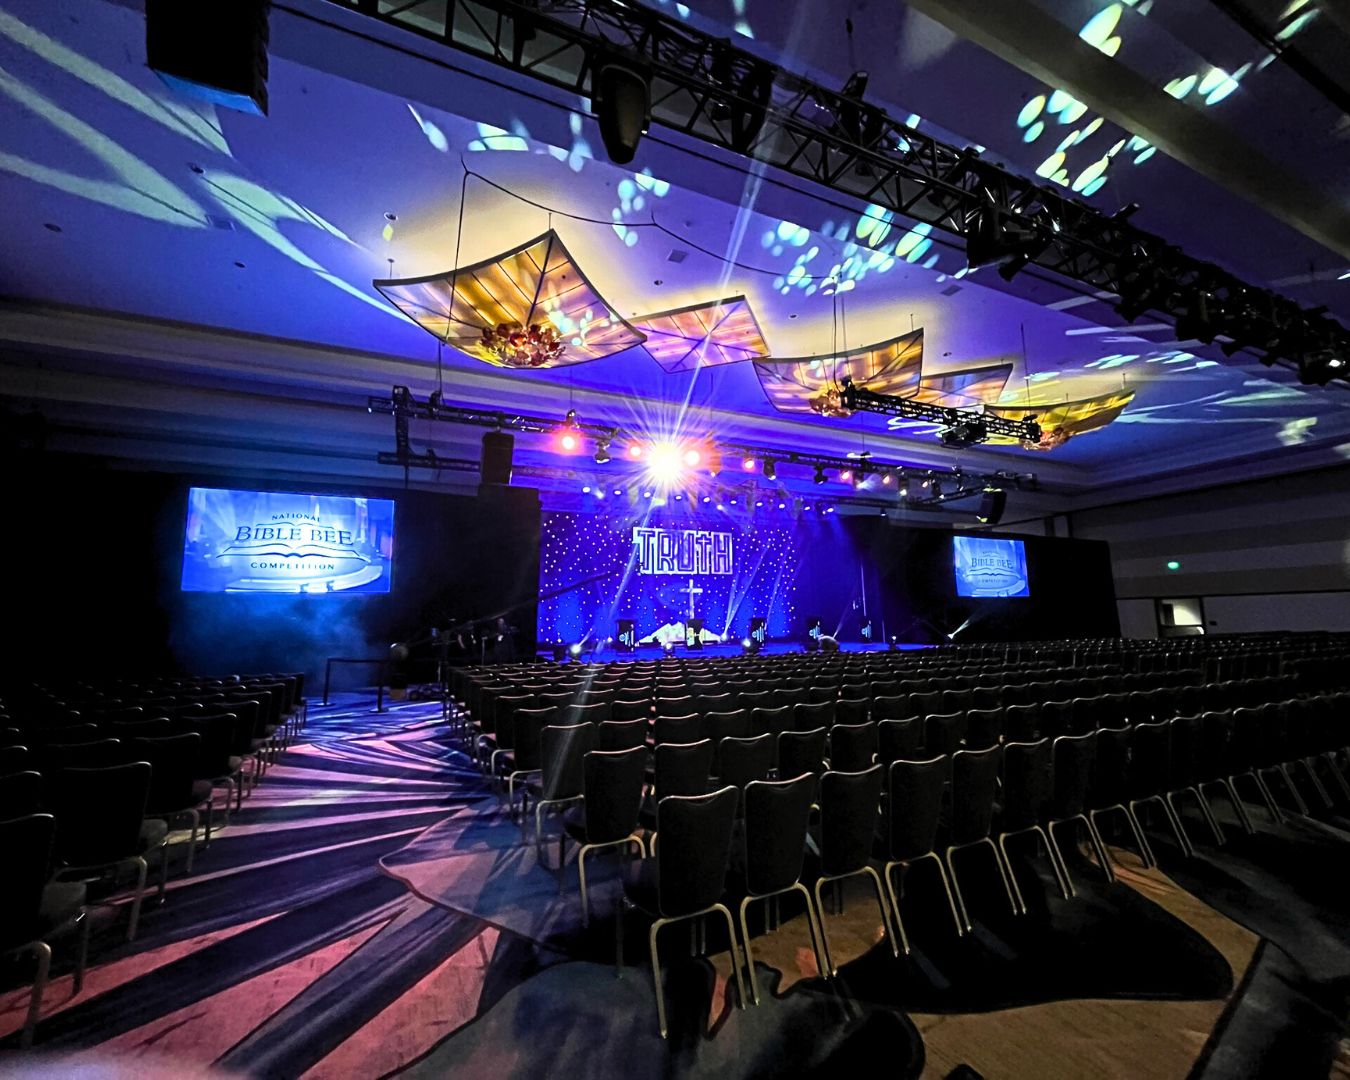
Professional AV Rentals in New Jersey & Philadelphia
At Starlite, we provide professional AV equipment rental and lighting support for events and productions throughout New Jersey and the Philadelphia area.
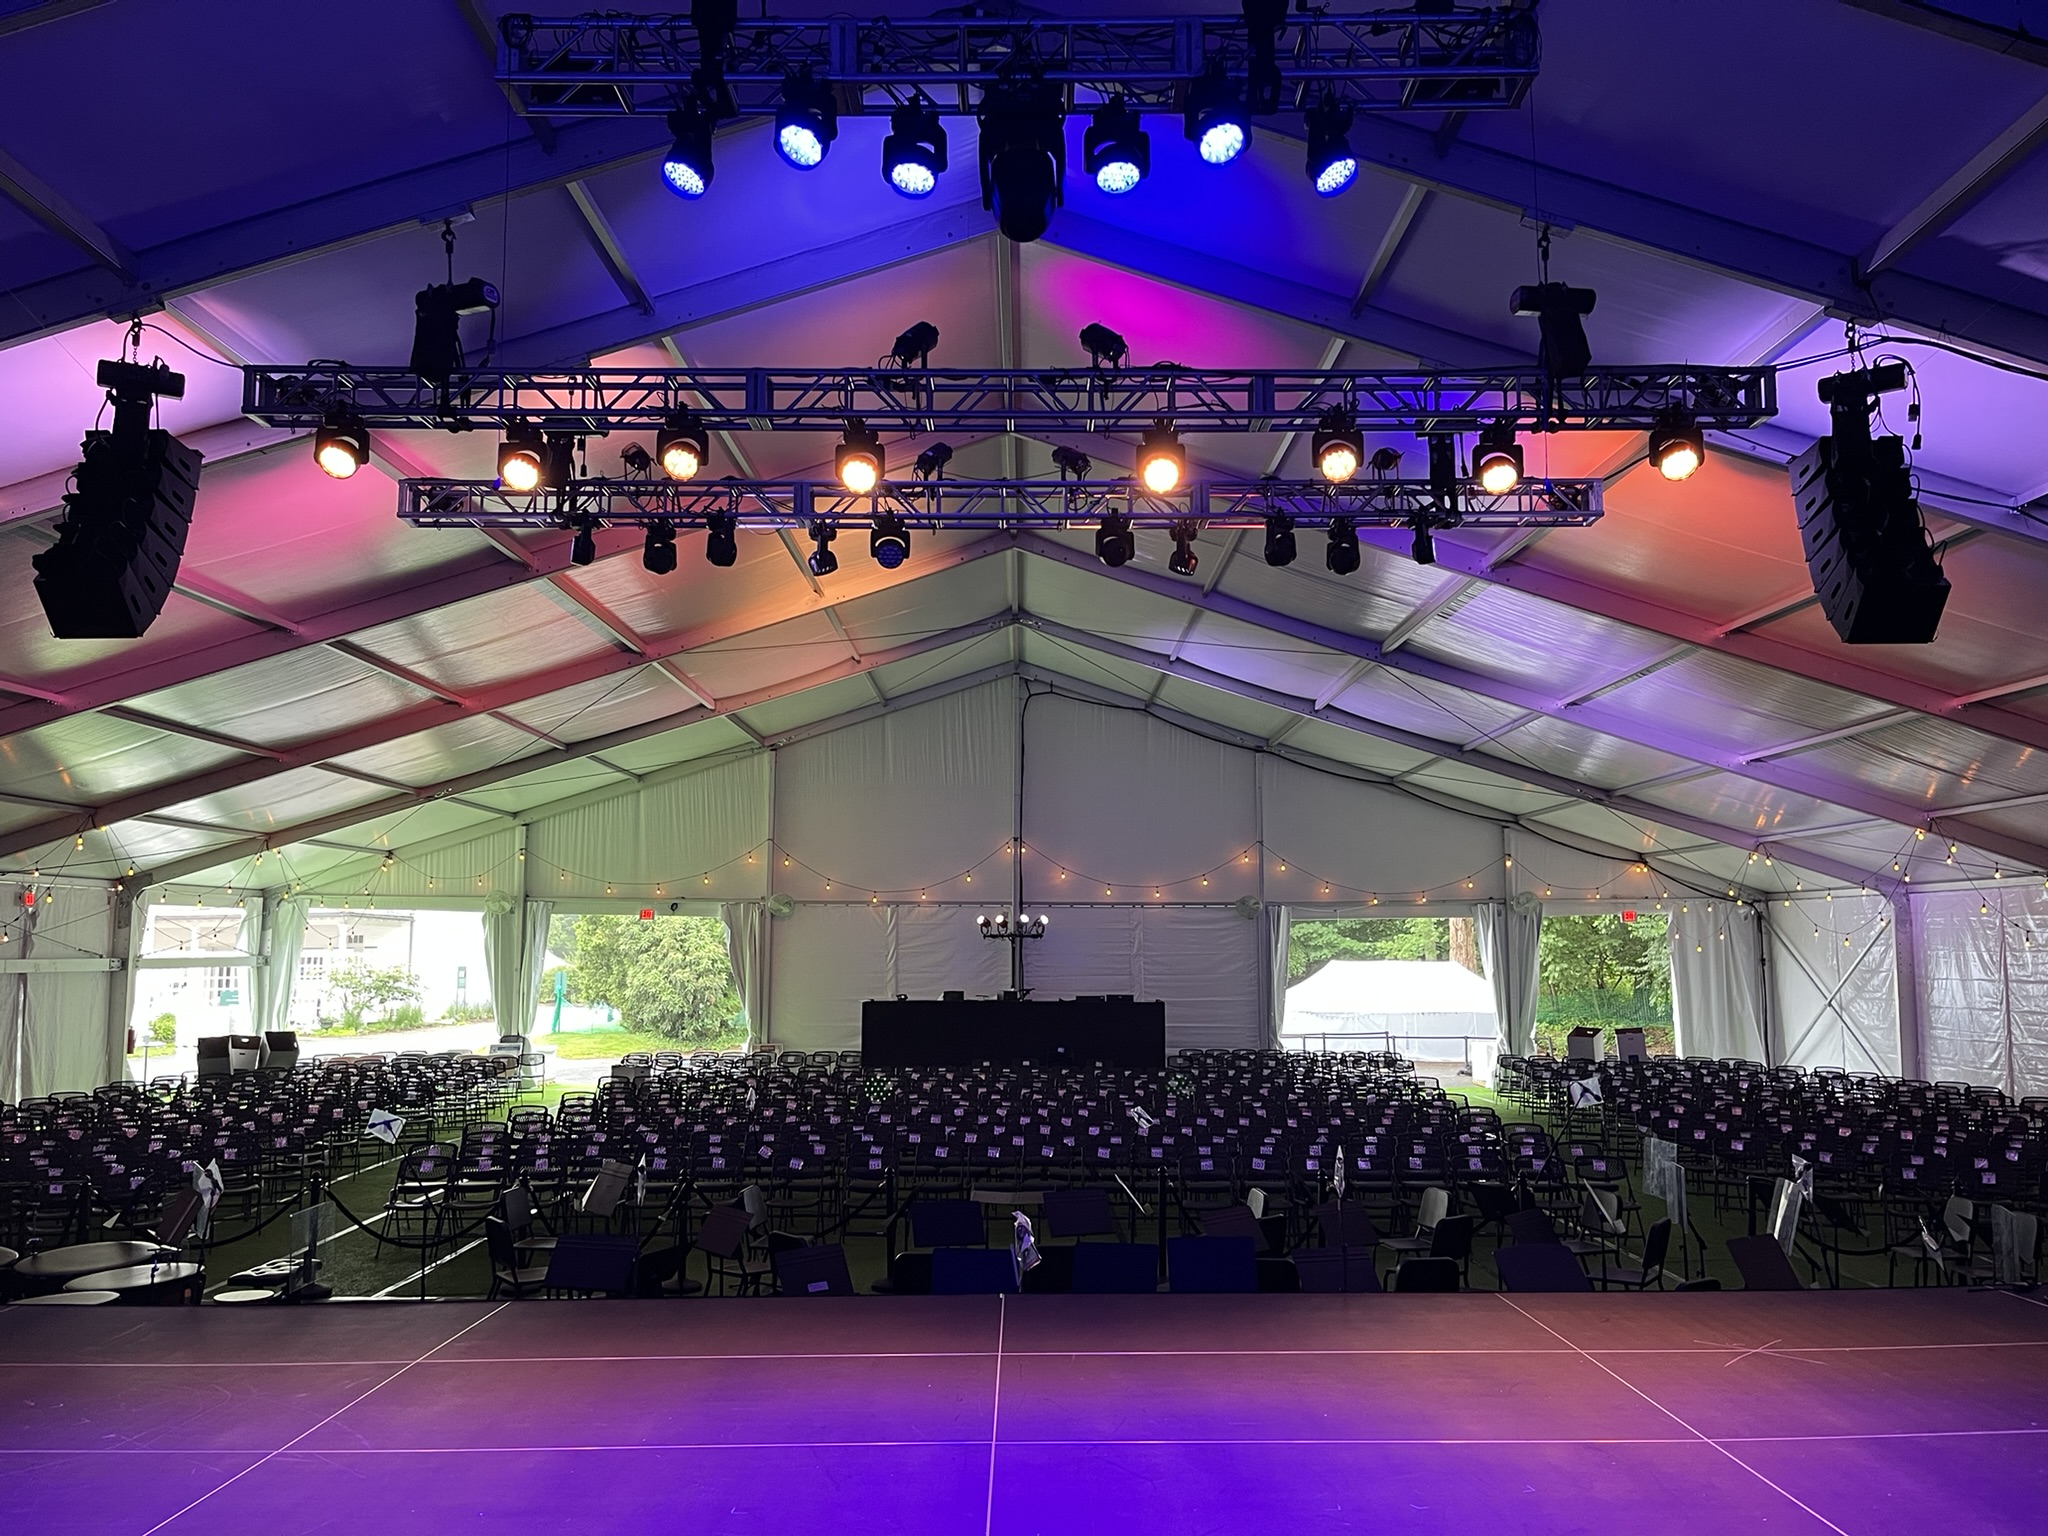
We support corporate events, community festivals, fundraisers, conferences, races, concerts, municipal events, outdoor productions, live entertainment, and more. From sound systems and projectors to stage lighting, LED walls, and full event production support, our team helps clients build the right setup without overcomplicating the process.
Because honestly, most people do not need to own more equipment.
They just need the right equipment — and the right team behind it.